PONY'TUDE APPROVED: Keretex Hoof Hardener
In this installment of PONY'TUDE APPROVED, we are broadcasting LIVE, FROM STARBUCKS!! Because I have NO POWER and likely will not for the next few days. THANKS, IRENE. Anywhoodle... I'm about to wax rhapsodic about the wonders of the miraculous, heaven-sent substance known as Keretex Hoof Hardener.
I love Keretex. A lot. If it wouldn't be seriously weird to build a secret shrine to Keretex in my closet, I would. Keretex is good stuff. It saves feet. It's easy to use. And, my favorite thing about Keretex, it actually does what it claims to do.
When I first brought Dino home last November, he was barefoot with ok-looking hooves. They were a nice shape, decent size, good angles, but were NOT very tough. Soft fluffy stall shavings, perfect carpets of grass, and fancy rubber footing are all great, but don't do much to toughen hooves. As you can guess, his feet started to deteriorate as he experienced rocks, wet weather, hard ground, frozen mud, and rough gravel for the first time. He was footsore and his feet started chipping and cracking like CRAZY. The wet weather we had for the majority of last year continued to soften his feet, and the rocks and hard ground started to rip his hooves apart. Not good.
Enter my farrier, who put shoes on Dino's front feet in order to get his soles up off the hard ground to prevent future bruising and control the chipping, and kept his hind feet rounded and smooth. He recommended that I NOT use any sort of hoof oil or conditioner, but stick to hardeners and sealants.
So I started using Keretex. And promptly fell in love.
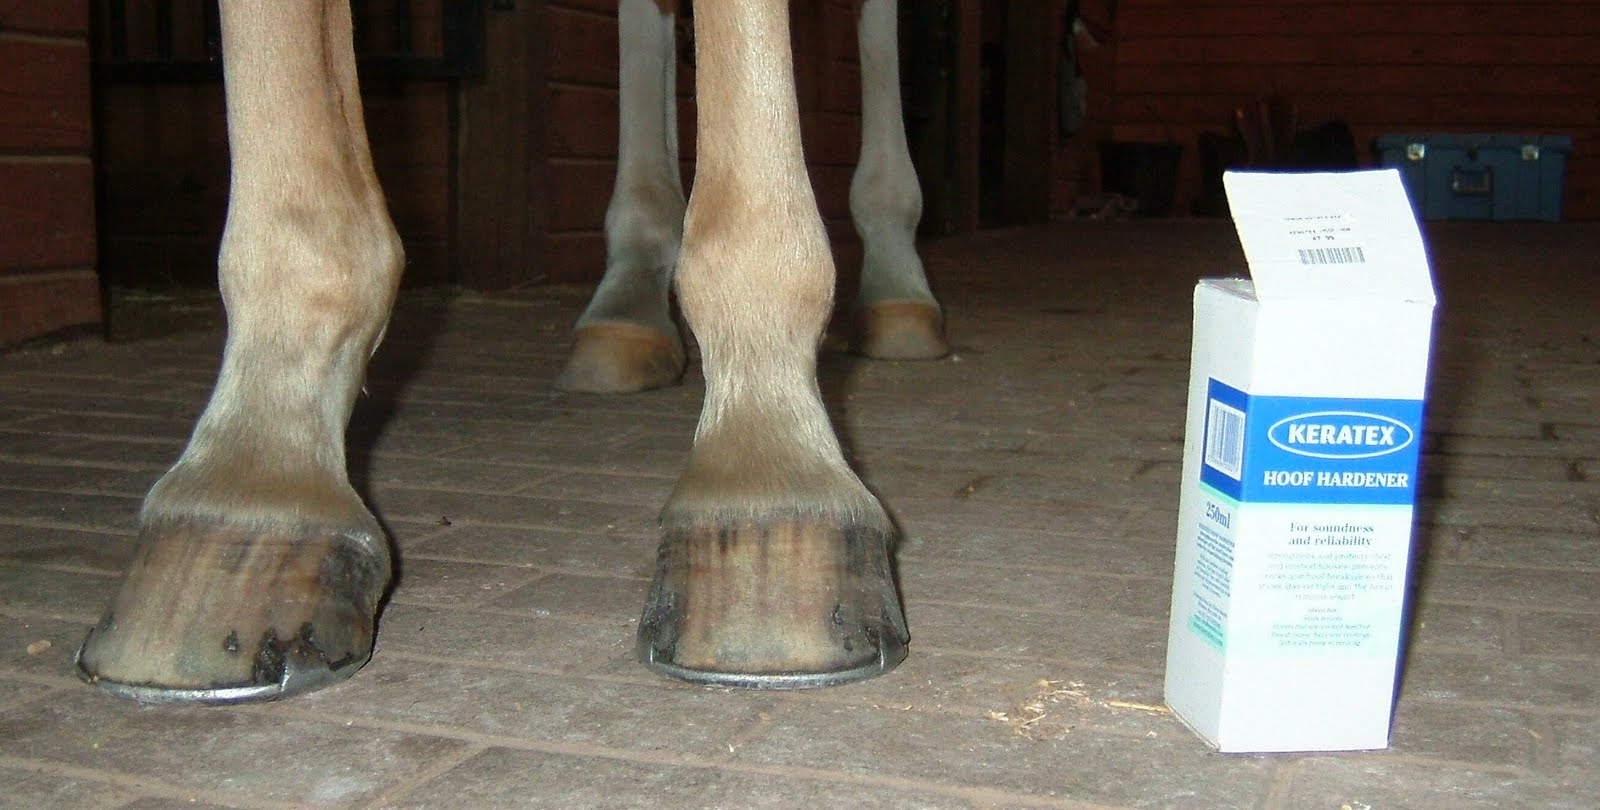
Keretex Hoof Hardener is a thin, clear liquid (Like water! Only not for drinking. I'm pretty sure that would actually kill you.) and comes in a small, screw-cap bottle. It also comes with a small brush to apply it with. For the first ten days, the instructions tell you to apply the hardener every day, then twice a week after the initial ten-day period for maintenance. I've followed this to the T, and have been really, really pleased with the results. The hooves should be as dry and clean as possible before you paint on the Keretex, and it's important to ONLY use it on the hard sole and outside hoof wall, NOT the coronary band or frog. Keretex is strong stuff that acts on the horn (the hard material that makes up a horse's hoof wall) and can irritate these more sensitive areas. I've spilled it on my own skin once or twice, and it created an uncomfortable mild burning sensation, so I'd imagine it would feel the same on your horse's skin, coronary band, or frog. Another trick I've learned is to pour a small amount into the cap before brushing it on the hooves, then rinse the brush and cap before putting it away. This keeps dirt and other nasties out of the bottle, and helps the solution stay cleaner longer.
While this hardener is a bit pricy (expect to pay around $40 a bottle at most retailers), I think it's worth it. I've noticed a marked improvement in the hardness of Dino's feet, his barefoot back hooves chip and crack MUCH less frequently and have started to grow much more now that the edges aren't constantly chipping off, and he appears to be much more comfortable on hard surfaces than he was before. He also hasn't even come CLOSE to losing a shoe, even with the Mud From Hell we experienced this spring.
You can read more about Keretex Hoof Hardener and other Keretex products here: http://www.keratex.net/, and if you decide to try it out, you can buy your own bottle at most local tack stores, or online from just about anywhere that sells horse care supplies. (I order from SmartPak, can't beat their shipping!)
P.S. Keretex has never heard of me, they just make a fantastic product that the world should know about!
I love Keretex. A lot. If it wouldn't be seriously weird to build a secret shrine to Keretex in my closet, I would. Keretex is good stuff. It saves feet. It's easy to use. And, my favorite thing about Keretex, it actually does what it claims to do.
 |
| Glorious! |
When I first brought Dino home last November, he was barefoot with ok-looking hooves. They were a nice shape, decent size, good angles, but were NOT very tough. Soft fluffy stall shavings, perfect carpets of grass, and fancy rubber footing are all great, but don't do much to toughen hooves. As you can guess, his feet started to deteriorate as he experienced rocks, wet weather, hard ground, frozen mud, and rough gravel for the first time. He was footsore and his feet started chipping and cracking like CRAZY. The wet weather we had for the majority of last year continued to soften his feet, and the rocks and hard ground started to rip his hooves apart. Not good.
Enter my farrier, who put shoes on Dino's front feet in order to get his soles up off the hard ground to prevent future bruising and control the chipping, and kept his hind feet rounded and smooth. He recommended that I NOT use any sort of hoof oil or conditioner, but stick to hardeners and sealants.
So I started using Keretex. And promptly fell in love.
Keretex Hoof Hardener is a thin, clear liquid (Like water! Only not for drinking. I'm pretty sure that would actually kill you.) and comes in a small, screw-cap bottle. It also comes with a small brush to apply it with. For the first ten days, the instructions tell you to apply the hardener every day, then twice a week after the initial ten-day period for maintenance. I've followed this to the T, and have been really, really pleased with the results. The hooves should be as dry and clean as possible before you paint on the Keretex, and it's important to ONLY use it on the hard sole and outside hoof wall, NOT the coronary band or frog. Keretex is strong stuff that acts on the horn (the hard material that makes up a horse's hoof wall) and can irritate these more sensitive areas. I've spilled it on my own skin once or twice, and it created an uncomfortable mild burning sensation, so I'd imagine it would feel the same on your horse's skin, coronary band, or frog. Another trick I've learned is to pour a small amount into the cap before brushing it on the hooves, then rinse the brush and cap before putting it away. This keeps dirt and other nasties out of the bottle, and helps the solution stay cleaner longer.
While this hardener is a bit pricy (expect to pay around $40 a bottle at most retailers), I think it's worth it. I've noticed a marked improvement in the hardness of Dino's feet, his barefoot back hooves chip and crack MUCH less frequently and have started to grow much more now that the edges aren't constantly chipping off, and he appears to be much more comfortable on hard surfaces than he was before. He also hasn't even come CLOSE to losing a shoe, even with the Mud From Hell we experienced this spring.
 |
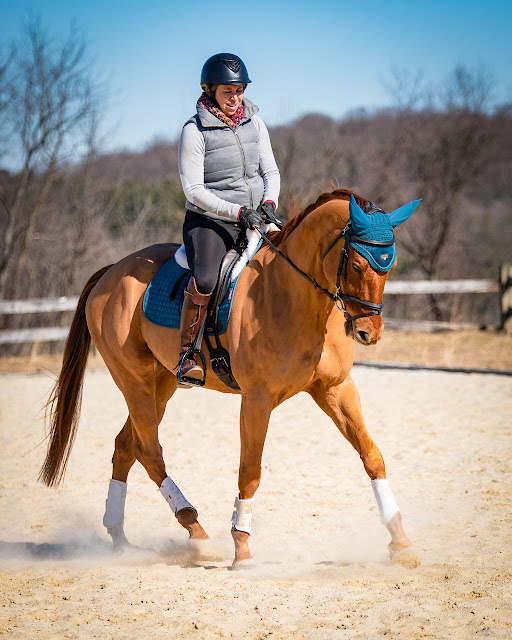
| Now those are some beautiful feet! |
You can read more about Keretex Hoof Hardener and other Keretex products here: http://www.keratex.net/, and if you decide to try it out, you can buy your own bottle at most local tack stores, or online from just about anywhere that sells horse care supplies. (I order from SmartPak, can't beat their shipping!)
P.S. Keretex has never heard of me, they just make a fantastic product that the world should know about!

Comments
Post a Comment